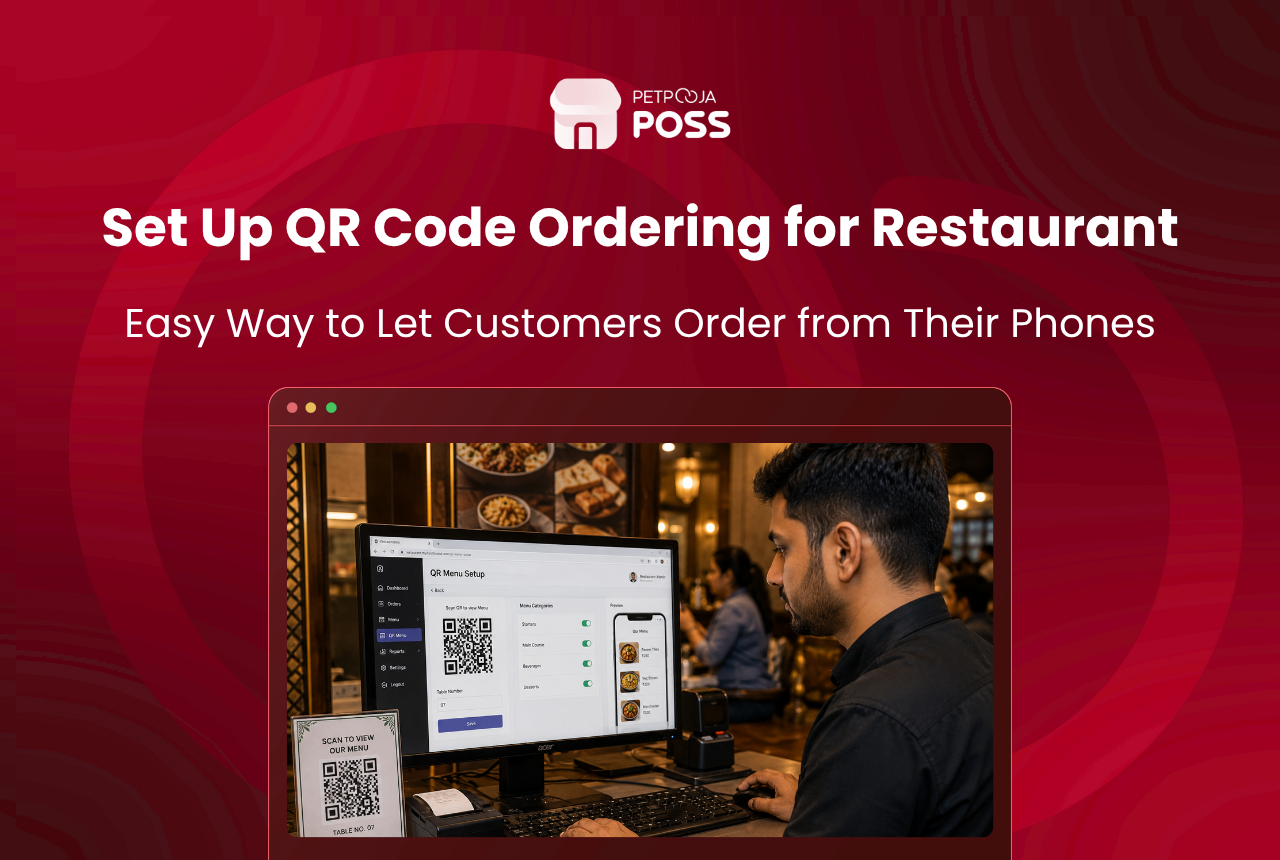
Setting up QR code ordering takes four steps: prepare your menu in the POS with item images and correct pricing, generate table-wise QR codes from the system, print and place them where diners can spot them instantly, and train your staff on the order validation flow. Most restaurants finish the entire process in a single day.
The setup itself is not the hard part. The part that trips up restaurants is what comes before: a messy, incomplete, or outdated menu in the POS. If your digital menu has missing images, wrong prices, or items that are no longer served, those problems show up on the diner’s phone the moment they scan the QR code. If you are new to scan and order as a concept, our explainer on what scan and order is and how it works covers the basics before you start the setup.
Key Takeaways
- QR code ordering requires a POS-integrated system like Petpooja’s Scan and Order, not a static PDF or image
- Menu preparation is the most time-consuming step: every item needs correct pricing, a clear name, images, and properly tagged variations
- QR codes are generated per table by the POS and printed on table tents, stickers, or acrylic stands
- Staff must understand the validation code flow: no validation, no KOT, no food prepared
- A dry run during a low-traffic slot catches problems before a busy Friday night service exposes them
What Do You Need Before Setting Up?
Before you touch the QR code settings, three things need to be in place.
A compatible POS type. Petpooja’s Scan and Order runs on Electron POS and LOCAL POS. POS Lite has limited support. Android POS does not support it. If you are not sure which type you run, check with your Petpooja POC or look at the device label on your billing terminal.
A fully configured menu in the POS. Every item your restaurant serves needs to be in the system with the correct category, price, tax rate, and at least one image. Items missing from the POS will not appear on the QR menu. Items with wrong prices will show wrong prices on the diner’s phone. There is no separate “QR menu” to manage. The diner sees whatever your POS menu contains.
Working Wi-Fi at the outlet. The diner’s phone needs internet to load the menu after scanning. Your outlet’s Wi-Fi is the backup when mobile signals are weak. For example, a restaurant in a Vastrapur mall basement in Ahmedabad where cellular signal drops below usable levels needs outlet Wi-Fi for scan and order to work at all.
How Do You Prepare Your Menu for QR Ordering?
This is the step most restaurants underestimate. A menu built for counter billing is not the same as a menu built for a diner browsing on a 6-inch phone screen.
Clean up item names. Internal shortcodes like “PBM-L” or “VEG-THI-R” make sense to your billing staff. They mean nothing to a diner. Rename items to what a customer expects to read: “Paneer Butter Masala (Large)” or “Veg Thali (Regular)”. Keep names under 40 characters so they do not get cut off on smaller phone screens.
Add images for every item. A menu without images on a phone screen looks like a plain text list. Diners scroll past items they cannot visualise. According to research compiled by MenuPhotoAI, a Cornell University study found that adding a photo to a menu item increases its sales by 6.5%. Petpooja’s menu management at `menu.petpooja.com` supports bulk image uploads. Photograph your top 20 dishes first if you cannot do all at once. Those 20 items likely account for 60-70% of your orders anyway.
Set up variations and add-ons correctly. “Small / Medium / Large” variations and add-ons like “extra cheese” or “no onion” need to be configured as structured options in the POS, not typed as free-text notes. Structured options show up as tappable buttons on the diner’s screen. Free-text notes require the diner to type, which slows the ordering flow.
Verify tax and pricing. The QR menu pulls prices directly from the POS. Run a quick check across your top items to confirm the displayed price matches what you intend to charge. A ₹20 mismatch on a biryani that sells 40 plates a day adds up to ₹800 in billing disputes or losses every single day.
Toggle off items you do not serve. Seasonal specials from last Diwali, discontinued dishes, and items you only make for catering should be toggled off. The menu on/off toggle in POSS controls this. If an item is on in the POS, it shows on the QR menu.
How Do You Generate and Place QR Codes?
Once your menu is clean, the POS generates a unique QR code per table. Each code is tied to a specific table number so the system knows which table placed the order.
Generating the codes happens inside the POSS settings. The system creates one QR code per table based on your floor plan configuration. You download or print these codes directly. Across Petpooja outlets, we have seen most restaurants generate all their table codes in under 15 minutes once the floor plan is mapped.
Printing options. Most restaurants print QR codes on table tents (folded card stock that stands on the table), acrylic stand inserts, or adhesive stickers fixed to the table surface. Table tents work well for restaurants that rearrange furniture often. Stickers suit fixed-layout QSRs and food courts where tables do not move.
Placement matters more than you think. QR codes tucked into a corner near the condiments get missed entirely. Place the code at the centre of the table or at the edge closest to where the diner sits. The code should be the first thing a diner sees after sitting down, not something they discover ten minutes later when the waiter points it out.
Add a one-line instruction. Not every diner knows what to do with a QR code. Print a line below it: “Scan with your phone camera to view the menu and order.” That single sentence removes the hesitation for first-time users, especially in tier-2 and tier-3 cities where QR adoption is still growing.
For restaurants that want a hardware-based self-ordering option alongside QR codes, our guide on setting up self-ordering kiosks covers the kiosk alternative.
How Should Staff Handle the Validation Flow?
This is the step that separates scan and order from a basic QR code menu. After a diner submits an order from their phone, the order does not go straight to the kitchen. A validation code appears on the diner’s screen, and a staff member checks this code on the POS before the KOT fires to the kitchen.
Why this step exists. Without validation, anyone scanning the QR code from outside the restaurant or a child randomly tapping items could generate real kitchen orders. The validation code is the fraud-prevention layer.
What staff needs to know:
- When a new scan-and-order notification appears on the POS, walk to the table and ask the diner to show the code on their phone
- Match the code on the phone with the code on the POS screen
- Confirm and the KOT fires to the correct kitchen station based on item-to-station mapping
- If the code does not match or the table is empty, reject the order
The common mistake: Some restaurants skip validation to “speed things up” during a rush. This defeats the entire safety mechanism. A better approach is to assign one staff member per zone to handle validations, so no single person is overwhelmed. Our blog on turning tables faster without rushing covers how to structure floor zones for exactly this kind of workflow.
How Do You Test Before Going Live?
Never launch scan and order on a Friday night. At Petpooja, we have seen restaurants skip the dry run and end up fielding complaints from confused staff and diners on their busiest evening. Run a dry test during a low-traffic weekday slot, for example, a Tuesday afternoon between 2 PM and 4 PM. Use our free table turnover calculator to identify your slowest service window for testing.
Test the scan. Sit at each table and scan the QR code with at least two different phones (one Android, one iPhone). Confirm the menu loads, images appear, and the correct table number shows on the POS.
Test the full ordering flow. Place a test order with variations and add-ons. Check that the KOT prints at the correct kitchen station. Confirm the validation code flow works end to end. Close the bill and verify the amount matches.
Test the reorder flow. Scan the same QR code again after the first order and add a second item. Confirm it appends to the same running bill, not a new one.
Test with no Wi-Fi. Disconnect the outlet Wi-Fi and try scanning on mobile data only. If your restaurant is in an area with poor cellular reception, for example, a basement outlet in Andheri, Mumbai, you will know immediately whether outlet Wi-Fi is a hard requirement.
Add a “QR code test” step to your restaurant opening checklist so staff checks that all codes are scannable and undamaged before each service.
What Mistakes Should You Avoid?
Five mistakes show up repeatedly in restaurants that struggle with QR code ordering after launch.
Launching with an incomplete menu. If 30% of your items have no image and 10% have wrong prices, diners lose trust in the QR menu after the first bad experience. Fix the menu before generating QR codes, not after.
Printing codes too small. According to Uniqode’s QR code sizing guide, the minimum recommended size is 2 cm x 2 cm, and the rule of thumb is that QR code size should be at least one-tenth of the scanning distance. For a table tent scanned from 50 cm away, that means at least 5 cm x 5 cm. Anything smaller gets difficult for older phone cameras, especially in low-light dining rooms.
No instruction text next to the code. As Restaurant India notes, restaurants are bridging the digital menu adoption gap through hybrid models and staff assistance. A one-line instruction printed below the QR code removes hesitation for first-time users.
Skipping the validation step. Covered above, but worth repeating. Validation is not optional. It prevents fake orders and billing disputes.
Not updating the menu after launch. A new dish added to the POS but not photographed, a price change made in the billing system but not checked on the QR menu, a seasonal item still showing in July. Our blog on digital menu boards vs printed menus covers why real-time menu sync matters for revenue. Add a monthly menu audit to your operations calendar.
Conclusion
Setting up QR code ordering is a one-day job if your menu is already clean in the POS. The four steps are: prepare your menu with images, correct names, and structured variations; generate table-wise QR codes from POSS; print and place them where diners see them immediately; and train staff on the validation code flow.
The setup that lasts is the one where the menu stays maintained after launch. A monthly check on images, pricing, and item availability keeps the QR ordering experience working the way it did on day one. Petpooja’s Scan and Order runs as a POSS marketplace add-on on Electron POS and LOCAL POS.
Frequently Asked Questions
A free QR code generator creates a static link, usually to a PDF or image of your menu. It does not connect to your POS, does not accept orders, and does not fire KOTs. For scan and order to work, the QR code must be generated by your POS so it ties to a table number and feeds into your billing flow.
One per table. If you have 25 tables, you need 25 unique QR codes. Each code maps to a specific table number in the POS floor plan. Printing the same generic QR code for every table breaks the table-mapping and the running-bill logic.
Keep at least one waiter on the floor for manual ordering. Older phones, cracked camera lenses, and low-light conditions can all prevent a scan. The QR code ordering system adds a channel for diners who prefer it. It does not eliminate the need for traditional service. Our blog on improving table turnover rate covers how to balance multiple ordering channels.
No. The QR code points to the live POS menu, not a static file. When you change a price, add an item, or toggle something off in POSS, the QR menu reflects the update on the next scan. You only need to reprint codes if you change your table layout or floor plan.
Food courts with shared seating need a different approach. Instead of one code per physical table, use one code per counter or brand. The diner scans the counter’s code, orders from that brand’s menu, and picks up when the token display flashes their number. This is how food courts separate orders across multiple kitchens using one POS system.
The diner’s phone needs internet to load the menu and submit the order. If your outlet has no Wi-Fi and cellular signal is weak, the menu will not load. Install a basic Wi-Fi router before enabling scan and order. The POS itself works offline for billing, but the diner-facing QR menu is cloud-dependent.