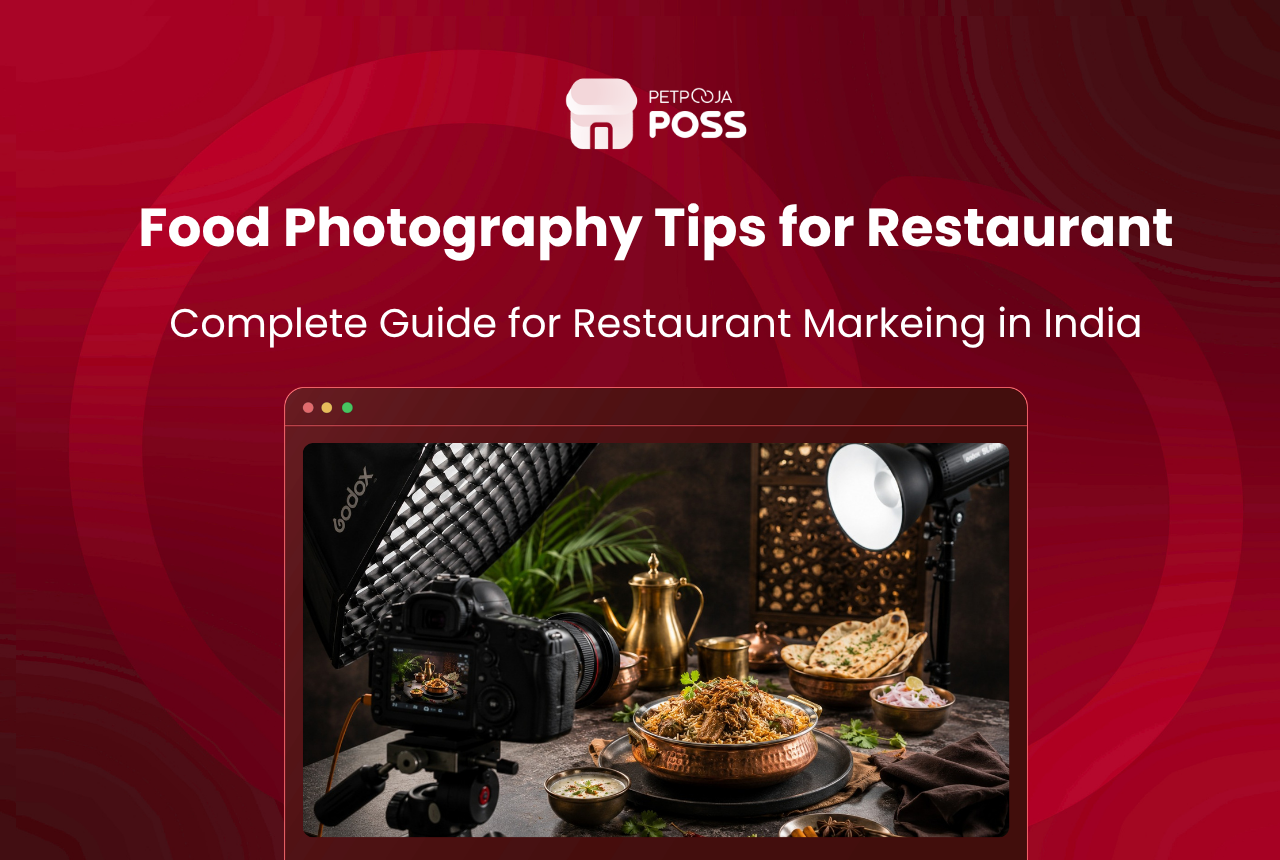
Nine food photography tips that Indian restaurant owners can use today: shoot near a window between 10 AM and 1 PM, turn on portrait mode for background blur, use the grid overlay for composition, shoot each dish from three angles, plate food on contrasting surfaces, edit with brightness and warmth only, upload to Swiggy and Zomato before Instagram, film 15-second plating reels, and batch-shoot your top 10 items in one Sunday session.
None of this requires a DSLR or a hired photographer. A phone from the last three years, a window, and 90 minutes when the restaurant is closed will get you there. The payoff is real: restaurants that add photos to menu listings receive up to 70% more orders according to GrubHub data, and items with images generate up to 44% more monthly sales on delivery platforms. Meanwhile, 72% of diners check a restaurant’s social media before walking through the door.
Key Takeaways
- Menu items with photos get up to 70% more orders on delivery platforms
- Natural window light between 10 AM and 1 PM beats any studio setup for food
- Portrait mode and the grid overlay are the only two phone features you need
- Swiggy and Zomato listings deserve photos before Instagram does
- One 90-minute batch shoot gives you months of content
1. The Window Is Your Studio
Forget ring lights. Forget softboxes. The biggest difference between a photo that makes someone hungry and one that looks like a hospital canteen tray is natural light from a window.
Most Indian restaurant kitchens have yellowish tube lights overhead. That light makes oil look greasy, makes paneer look waxy, and flattens every colour on the plate. A north-facing or east-facing window between 10 AM and 1 PM gives you soft, indirect light that does the opposite: it brings out texture, separates the dal from the rice, and makes the garnish pop.
One thing that catches people off guard is direct sunlight. A beam of noon sun hitting a bowl of rasam creates white-hot spots on the surface that ruin the shot. If that’s happening, move the dish six inches back from the window or hang a thin white dupatta over the glass to diffuse the light. A restaurant owner in Aundh, Pune told us their Sunday morning shoot between 10:30 and noon, with the front windows catching east light, produces every photo they use all month.
No window at all? Open the main entrance door. Even that daylight coming through the doorframe beats any kitchen tube light you own.
2. Portrait Mode and the ₹1.5 Lakh Lens Trick
Here is what a professional food photographer’s ₹1.5 lakh DSLR lens does: it blurs everything behind the dish while keeping the food razor-sharp. The industry calls this “bokeh.”
Your phone already does this. It’s called portrait mode.
Turn it on, tap the biryani to lock focus, shoot. The cash counter, the napkin holder, the Ganesh calendar on the wall behind the plate all melt into a smooth blur. The biryani becomes the only thing the viewer’s eye lands on. Three taps. No equipment.
Watch out for one edge case though. Portrait mode can blur the rim of the plate or clip steam rising from hot chai. For anything steaming or soupy, switch back to normal mode and physically move the phone closer to the dish instead. Getting closer does more than zooming ever will anyway, because digital zoom on phones just crops and degrades the image.
3. Why Does the Grid Overlay Change Everything?
Go to your phone’s camera settings. Turn on the grid. A 3×3 overlay appears on screen.
Now, instead of centering every dish like a passport photo, place it where two grid lines cross. Photographers call this the rule of thirds, and it’s the single fastest way to make an amateur food photo look professional. The paneer tikka sits at the lower-left intersection. The empty space in the upper-right gives the image room to breathe.
For a table spread with four or five dishes, let the hero item (the most colourful or tallest one) sit on one intersection point and let the supporting bowls fill the remaining frame. The photo feels composed instead of crowded.
4. Three Angles Per Dish, No Exceptions
A mistake we see across Petpooja’s 1,00,000+ restaurant base: owners shoot every single item from the same 45-degree angle. The thali, the burger, the kulfi, the pav bhaji. Same angle. Same distance. The entire Zomato listing looks monotonous.
Different dishes demand different camera positions:
- Straight overhead: thalis, pizzas, salad bowls, anything where the arrangement across the plate is the selling point
- 45-degree angle: the natural “I’m sitting at the table” view. Works for most dishes, especially rice plates and curries with naan
- Eye level: burgers, tall lassi glasses, layered desserts, biryanis where someone is lifting the lid
Shoot all three for every dish. Delete the worst two later. Moving your phone closer always beats zooming in because digital zoom on smartphones is just a crop that kills sharpness.
5. The Surface Under the Dish Matters More Than You Think
White paneer tikka on a white plate on a white marble table? Flat. Invisible. Nobody stops scrolling for that.
Put the same tikka on a dark slate board and suddenly the orange and green coriander pops off the screen. Contrast between food colour and surface colour is the trick.
| Surface | Best Paired With |
|---|---|
| Dark wood or slate board | Paneer, steamed momos, vanilla ice cream, white sauces |
| White plate or marble | Black dal, chocolate desserts, dark curries |
| Banana leaf or newspaper | Chaats, fried items, street food with a casual vibe |
| Brass or steel thali plate | Full South Indian meals, unlimited thali spreads |
A thali joint in Madhapur, Hyderabad swapped their plain white serving plates for traditional brass thalis in photos. Food bloggers started sharing those images without any paid push. The dish was the same. The surface made the difference.
6. The Editing Trap That Kills Trust
Instagram filter on butter chicken. The chicken turns purple. Customer orders. Chicken arrives orange. One-star review.
This happens more than you’d expect. The biggest editing mistake restaurant owners make is reaching for a preset filter instead of adjusting three sliders manually:
- Brightness: up 10-15% so the dish looks lit by daylight, not a basement
- Warmth: up slightly so the food looks golden and inviting
- Sharpness: up 5-10% so crispy edges and rice grains are visible on screen
Stop there. No saturation. No contrast. No vignette. No “Clarendon” or “Juno.” The photo should look like what actually shows up at the table. At Petpooja, we’ve watched restaurants collect negative Google reviews specifically because their Zomato listing photos and the actual delivered food looked like two different meals.
7. Why Should Swiggy and Zomato Get Photos Before Instagram?
Because Instagram is where people discover restaurants. Swiggy and Zomato are where they buy.
Most owners do it backwards. They shoot a nice reel for Instagram, get 200 likes, feel good, and meanwhile their Zomato listing for butter chicken has no photo at all. The customer browsing “North Indian near me” on Zomato at 8 PM sees a blank menu item and scrolls past.
Here’s something most new restaurant owners don’t know: both Swiggy and Zomato offer free food photography during onboarding. Swiggy sends a team to shoot at least 20 items from your menu when you first list, and Zomato runs a similar programme for new partners. On top of that, Swiggy’s Owner app now has an AI-powered Photoshoot feature that lets you capture dishes on your phone and the app enhances the image quality, adjusts backgrounds, and optimises it for the listing. Over 10,000 restaurants used this feature within the first month of launch. If you’re already listed but never got the photoshoot, ask your Swiggy or Zomato account manager to schedule one.
Upload your top 10 items to delivery platforms first. Those listings convert directly into orders. Instagram can wait until Saturday.
Petpooja POSS manages your menu across dine-in, Swiggy, and Zomato from one dashboard, so a photo update doesn’t mean logging into three platforms. More on Instagram marketing for restaurant sales.
8. A Water Glass, a Phone, and 15 Seconds
Still photos show the finished plate. A reel showing a chef’s hands spooning dal makhani into a copper handi, drawing a cream swirl, dropping two coriander leaves, and sliding it across the pass to a waiter tells a story. Reels hold attention longer, and Instagram’s algorithm rewards them for it.
The setup is absurd in its simplicity. Prop your phone against a water glass at table height. Hit record. Let the chef do what they do. Trim to 10-15 seconds. Post with no transitions, no text overlay, no trending audio. The raw feel actually performs better than polished content because it reads as real to the algorithm and to the viewer.
Read more about food photography equipment and video marketing for restaurants.
9. The Sunday Morning Batch Shoot
Shooting photos one at a time across the week is a recipe for inconsistency. Monday’s lighting is different from Thursday’s. The plating style drifts. Your feed ends up looking like ten different restaurants posted on it.
Block 90 minutes on a quiet Sunday morning instead. Line up your top 10 menu items. One table by the best window. Two surfaces. Three angles per dish. You walk out with 60+ photos and a dozen reel clips in a single session. That’s three months of social media content from an hour and a half of work.
Do this once per quarter. Store everything in a shared folder your social media person, Zomato listing manager, and WhatsApp marketing person can all pull from. More tips on designing food photos for social media.
Conclusion
Good food photography does not require expensive gear. A phone, a window, and 90 minutes on a closed Sunday morning will produce images strong enough to lift delivery orders, fill an Instagram feed, and make Swiggy and Zomato listings stand out from every other restaurant in the same pin code.
Start with your top 10 bestsellers. Get them on Swiggy and Zomato first. Shoot one reel per dish. The restaurants winning at visual marketing in 2026 aren’t the ones with the biggest budget. They’re the ones who showed up with a phone and a window every Sunday while everyone else was still arguing about which camera to buy.
Frequently Asked Questions
No. The iPhone 13 and above, Samsung Galaxy S21+, and even the Redmi Note 12 Pro produce sharp food photos in natural light. Lighting and angle matter far more than the sensor. A ₹15,000 phone in good window light will outshoot a ₹2 lakh DSLR under kitchen tube lights.
10 AM to 1 PM, near your largest window. Sun is high enough for soft fill light without the harsh direct shadows that ruin curry and sauce textures. Never shoot under overhead kitchen lights if you can avoid it.
Your top 10 sellers at minimum. GrubHub data shows listings with food photos pull up to 70% more orders. Photograph bestsellers first, then work down the menu over the next few quarters.
Absolutely not. Filters shift colours and create a gap between what the customer sees online and what arrives at the table. Stick to three manual adjustments: brightness, warmth, sharpness. That’s the full edit. Anything more risks a disappointed customer and a bad review.
Every three months. One 90-minute Sunday session covers your top 10 items from three angles. Reshoot whenever you add a new dish or change plating. Stale photos with old crockery or discontinued items on the plate erode trust quietly.